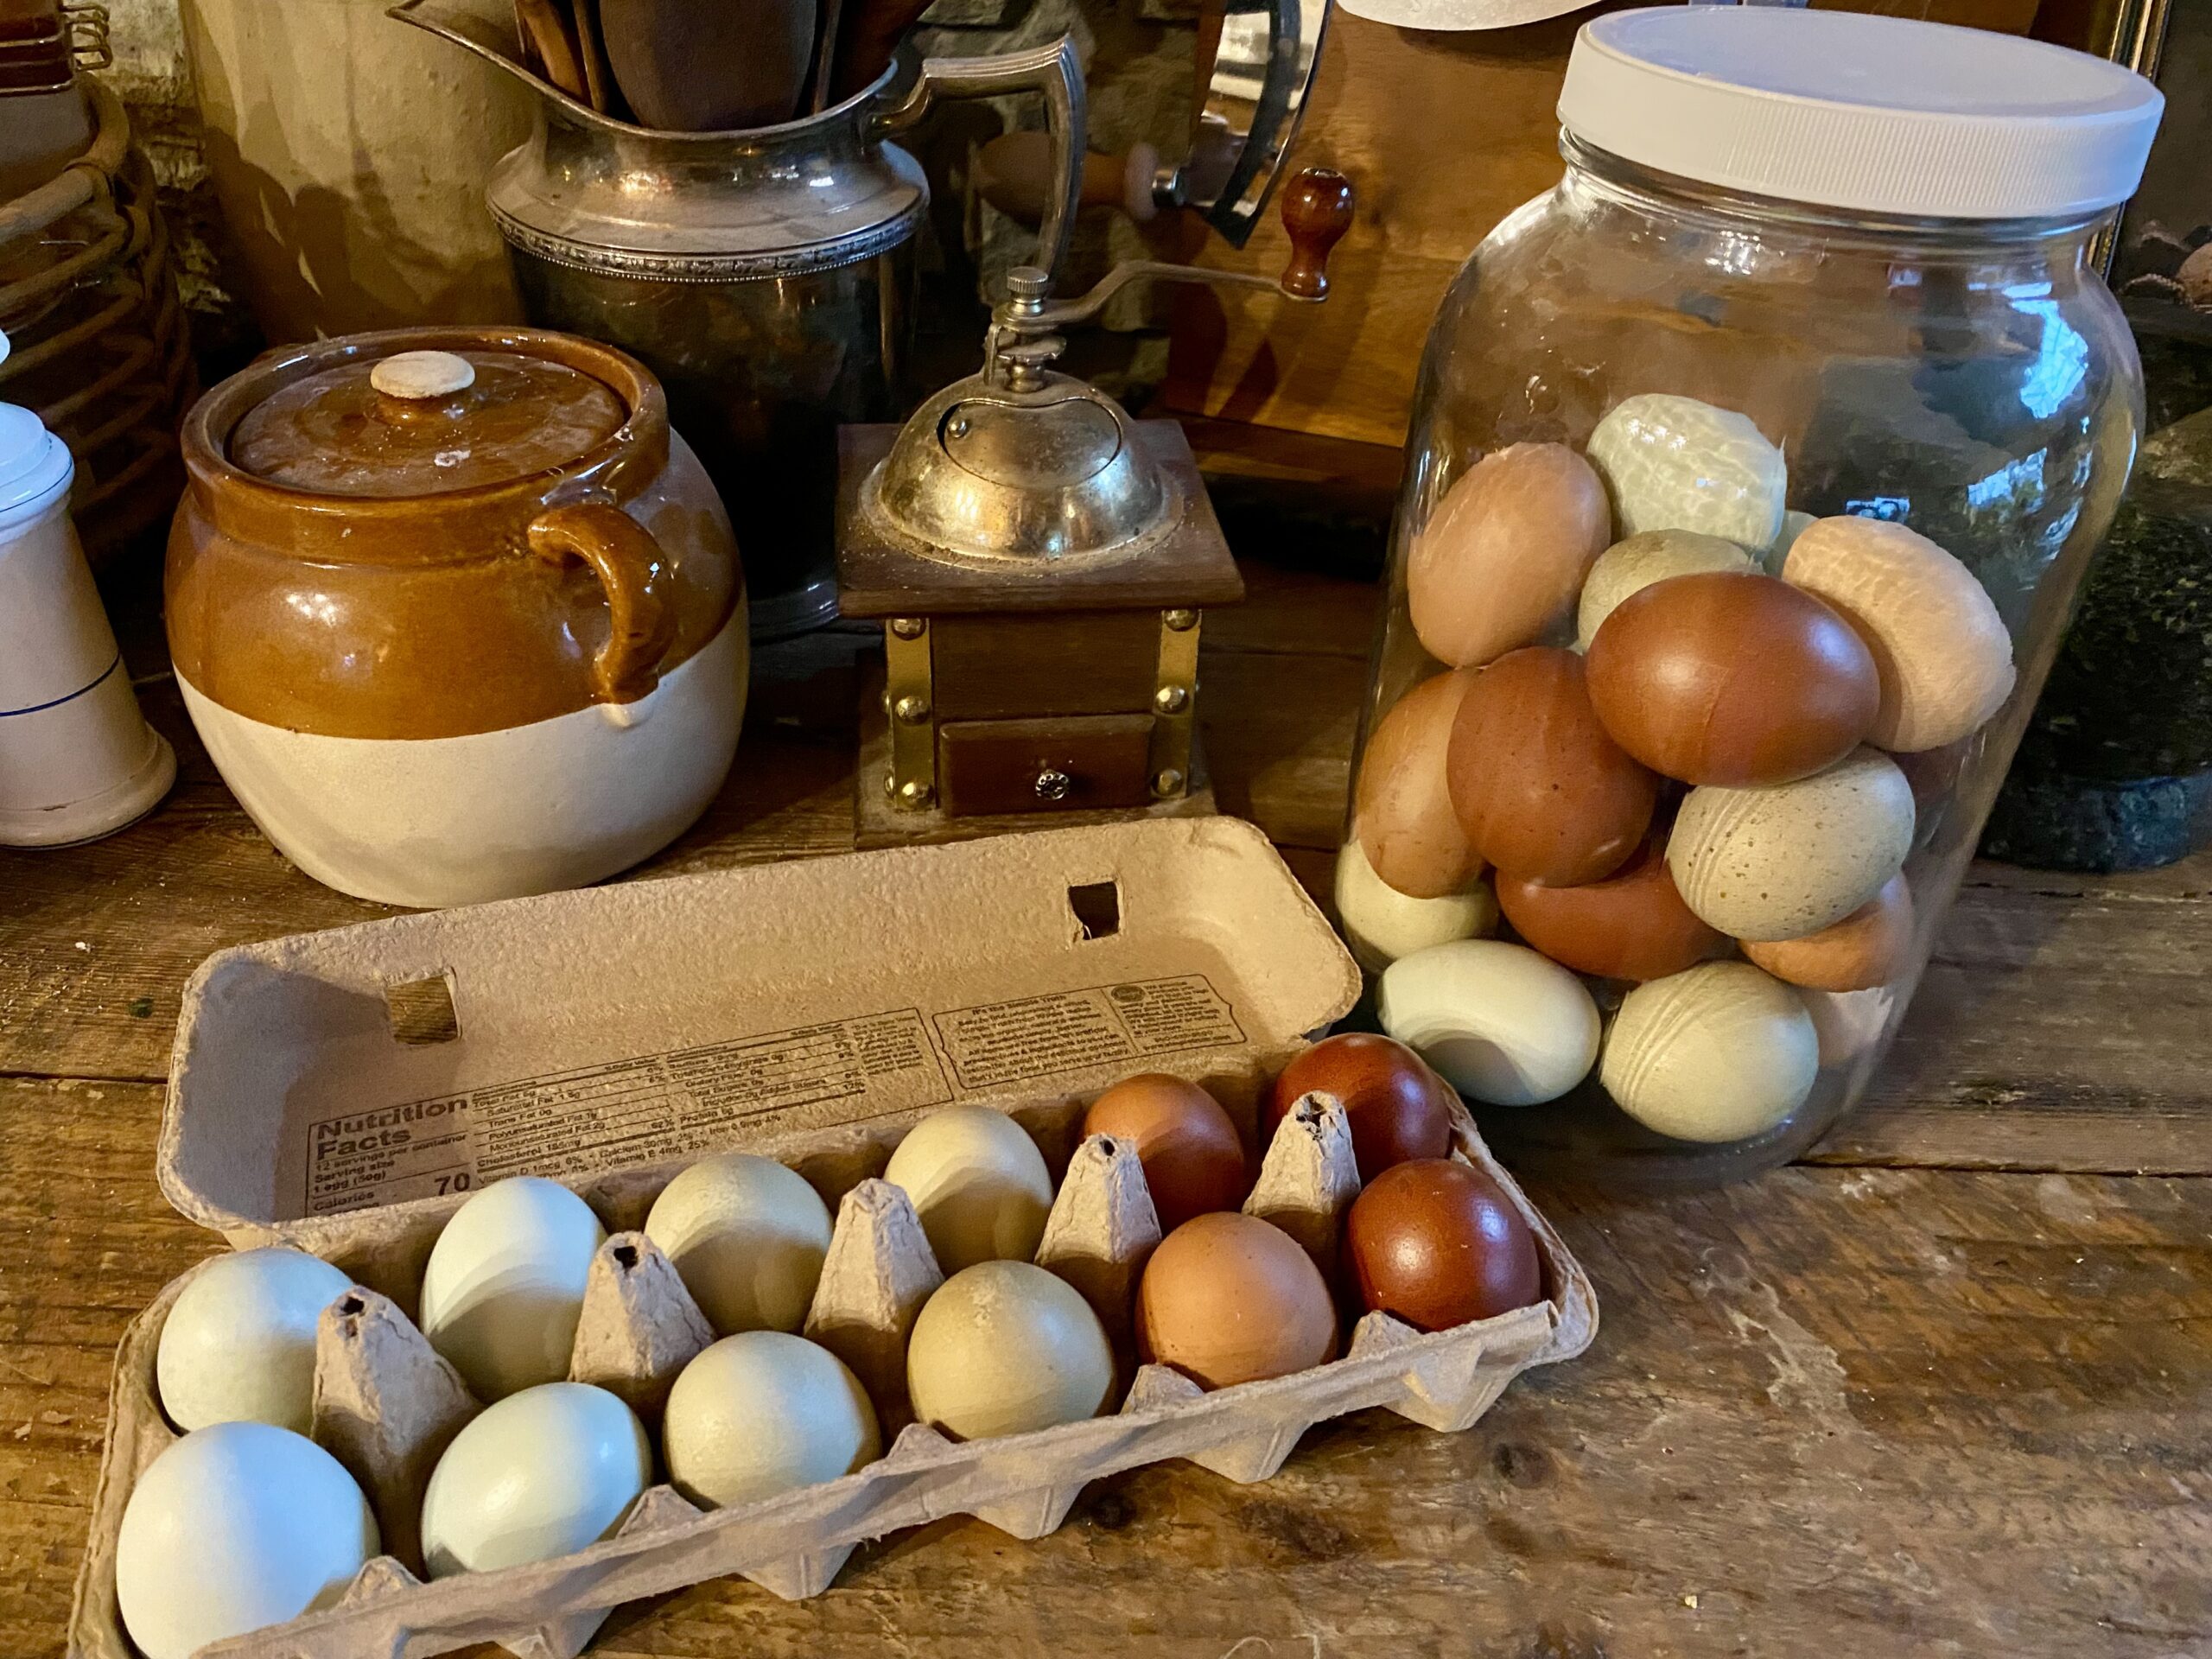
Okay so I have been wanting to write this seed starting post for a while and describe our setup and give you lots of good photos but there are a couple of problems.
- Admittedly our cellar, or pool room, or dark dungeon beneath the house (however you want to describe it) is a mess. Like, a HUGE mess. I am far too embarrassed to put that on the internet. It is a catch all dumping station when I want things out of the way and we don’t have really any storage in our home. You cant even walk in there at all and I avoid it at all costs. Oh and insulation is just hanging down from most of the ceiling. Very safe. I will be completely clearing it out this spring but that task haunts me.
- I don’t feel inspired to start seeds in that space. The insulation is hazard enough, there’s evidence of mice everywhere, very low lighting and intermittently working electricity, leaks from the pool pump water all over the concrete floor, and cinder block walls. It feels like a dungeon rather than a place for a hopeful gardener.
- I am also changing the way we start our seeds based on some things I have learned over the past several years.
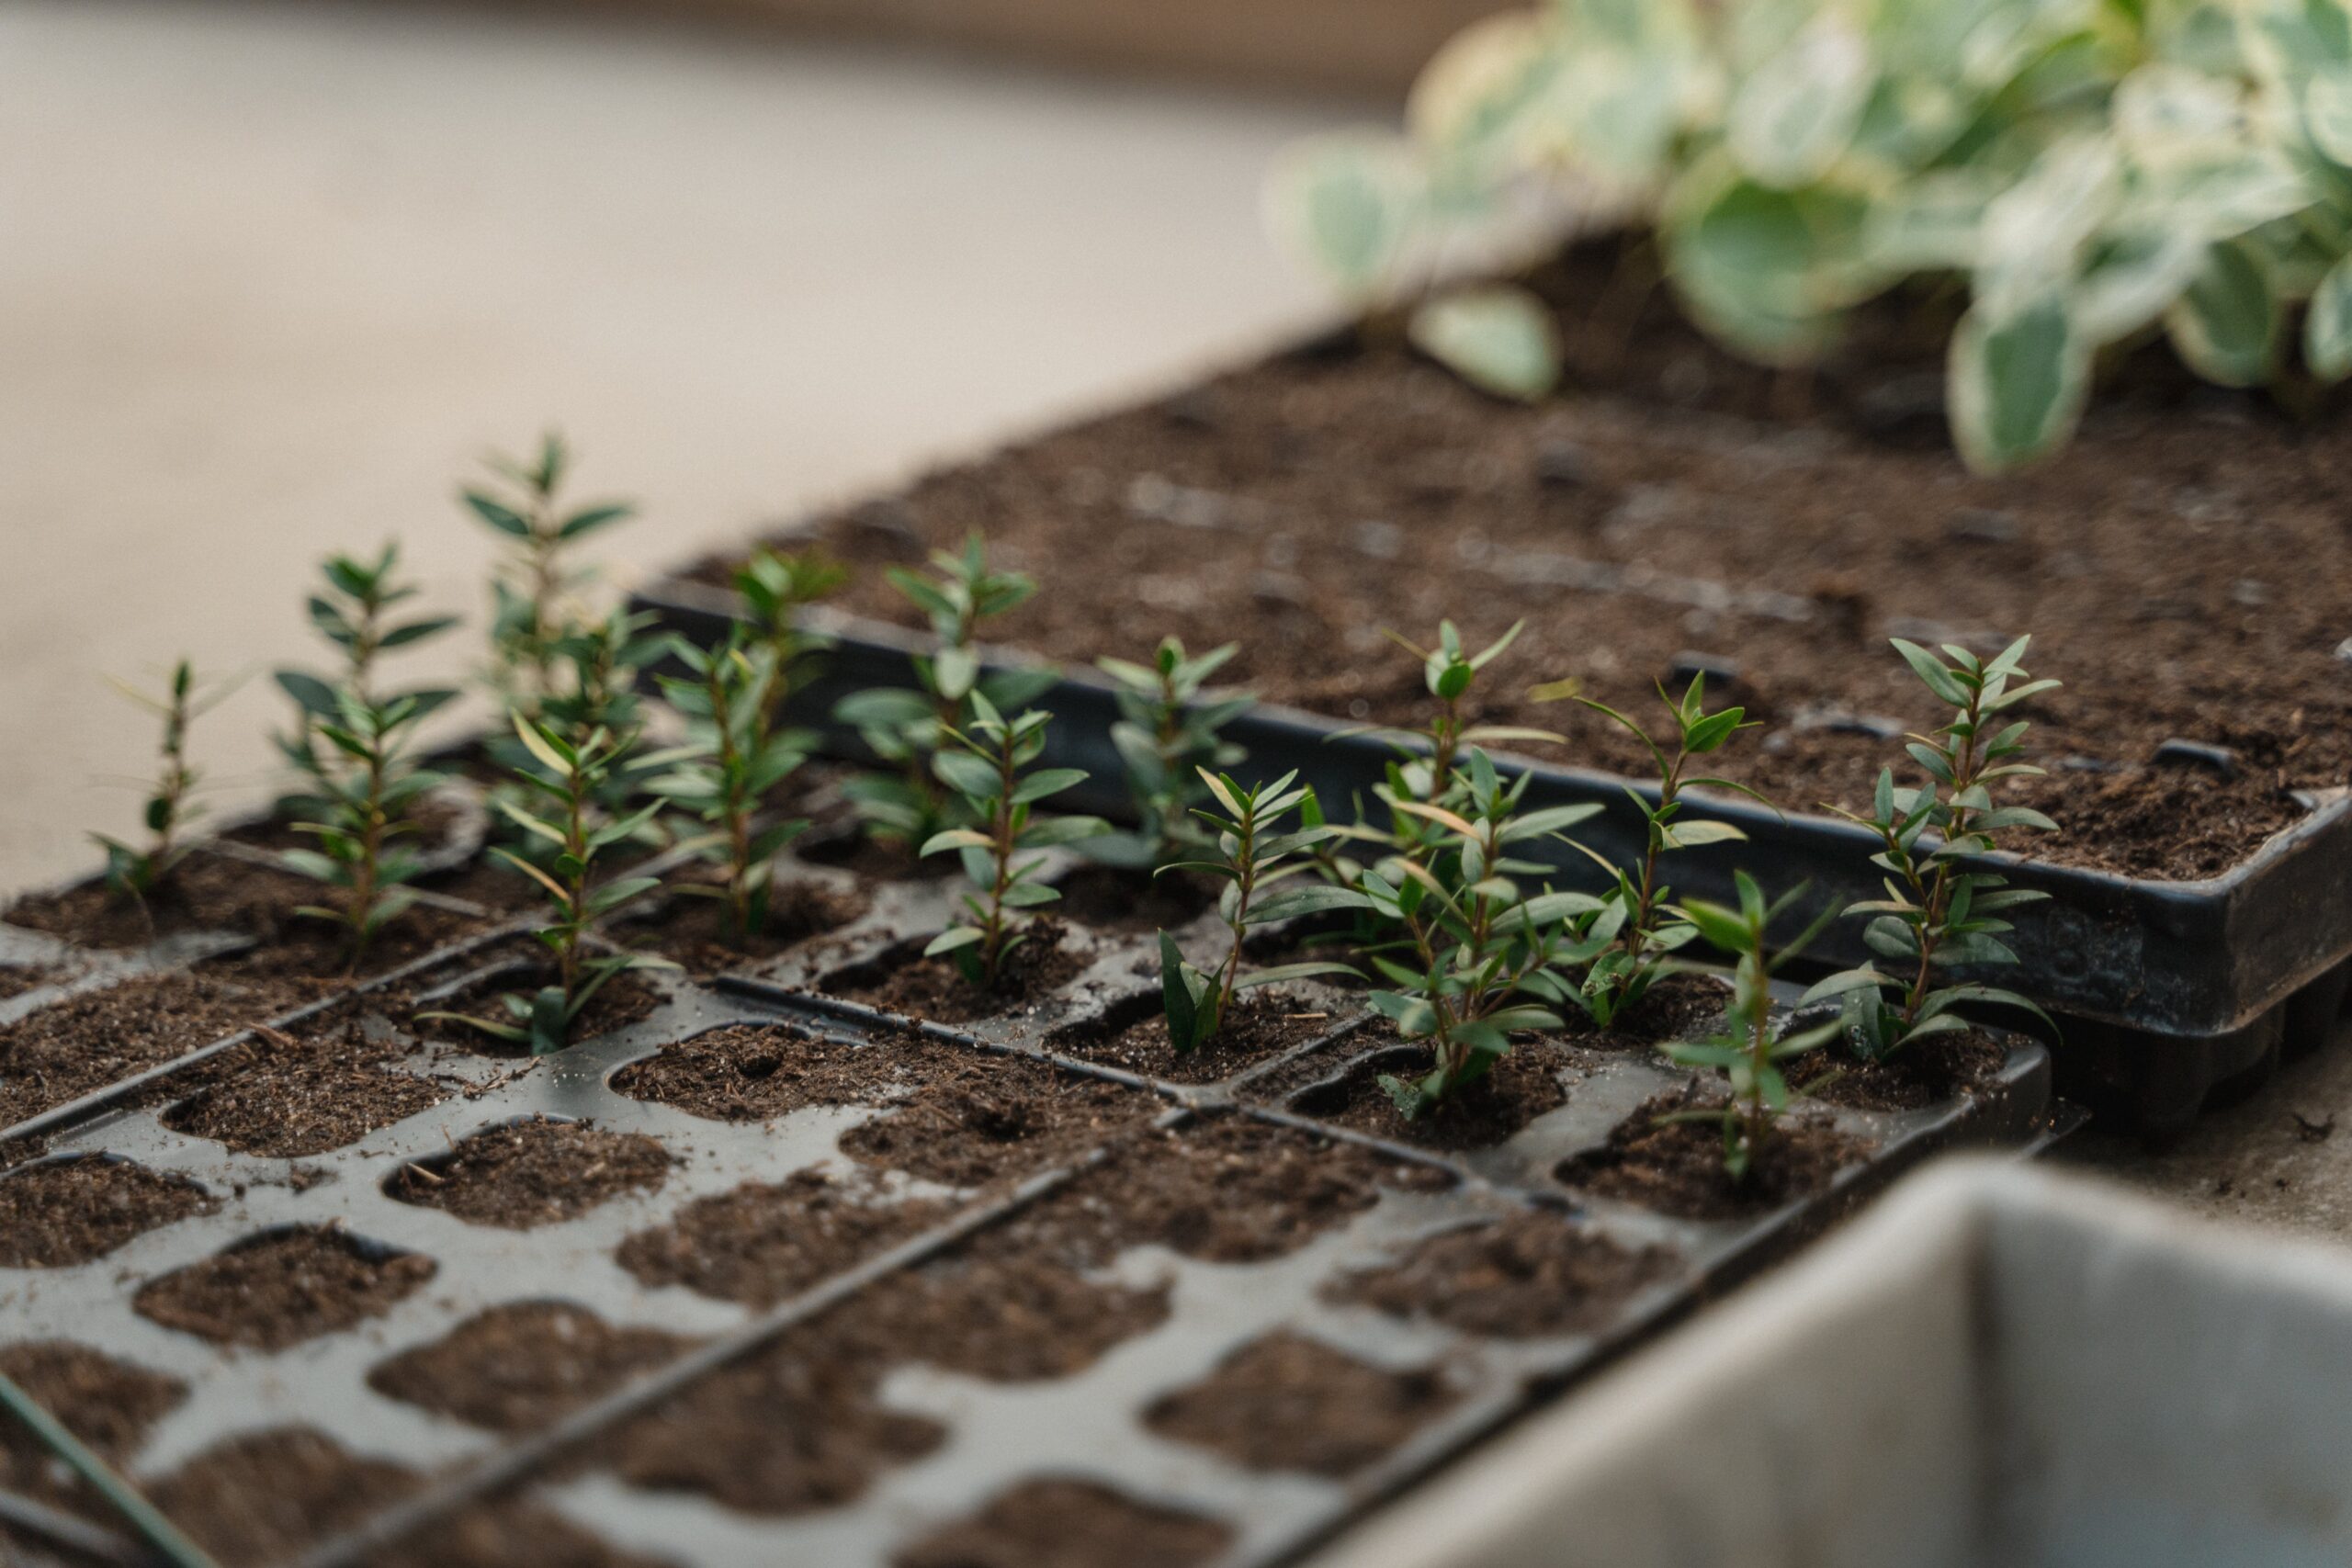
Originally we had those tall rolling racks outfitted with every shelf containing a heat mat AND with two LED shop lights above each shelf that are attached to tiny chains and S hooks so you can easily adjust the height. I used seed cell trays and I used both the light and the heat when starting seeds. This method works! It works really well.
I would use various types of soil media, use a dibbler or a pencil, cover the seeds very lightly with soil and/or vermiculite depending on the seed variety, and place on the heat mats. The cheap trays you can get from Walmart have a solid bottom that is a separate attachment for holding the seed cells, and a plastic cover on top.
Only bottom water your seeds. Get a watering can with a very small spout so you can easily get into these tiny spaces to bottom water the trays and I would water one inch deep. I leave the plastic covers off until cotyledons form to avoid any mold. I would leave the heat mats on 24/7 and have them set to 72 degrees. I left the shop lights on for at least 12 hours per day as close to the soil surface as possible.
Once the seedlings formed I would place the plastic trays on and move the shop lights up. After the seedlings got stronger you continually move the shop light up adjusting for their growth but also trying to prevent them from getting too leggy.
You always want to allow your soil to completely dry before adding more water. I needed to water roughly every other day. You don’t have to look you can just use your finger in between the plastic to feel for how much water you have remaining.
What We Are Doing Differently
I have learned is that you do not need to use heat and light at the same time. What seems to work better (although I have not tried) is starting your seeds on heat mats, and once they germinate removing them from heat and placing them under light. Otherwise all seed starting processes are the same. This is the new method I would like to try this year.
We are also FINALLY constructing the small greenhouse I bought 3 YEARS AGO! Yes, that seems to just be how things go around here. So not only do I want to change the way we start seeds, I want to move where we start seeds, and I want to experiment with starting seeds in the unheated greenhouse.
Oh and I inevitably get far too excited, and start seeds too early without my beds properly prepped or filled. I do this every year and then I need to transplant them desperately as they are severely root-bound and my beds aren’t ready. I recently renovated one garden and started a new one so I have two very unfinished gardens with empty beds and landscape fabric that needs to be covered. ADHD at its finest…
So although I cannot include lovely pictures of our seed starting setup, you’ll just have to take my word for it that these work and ask your questions below of what I can clarify for you. Once I get the pink hanging insulation stapled back up I will try to add some photos to this post. Until then my spring tasks including cleaning up that dungeon and cleaning up both gardens and filling beds. I am tired if getting too ahead of myself and that may possibly not leave a lot of time to start seeds. I will keep you posted with what we get done and post soon with photos of the ‘new’ greenhouse!
Your gardening friend,
Lauren