Sauerkraut, oh how I love thee.
I was raised a proud fourth generation polish daughter and although we were far removed from our immigrant roots, I was able to meet and spend time with my great grandmother, my Busha as I called her, until she was 99. I was twelve when she passed away. My grandmother Sunny always made polish recipes when I’d come to visit her in the summers in Illinois, and my Dad tried to incorporate as many Polish foods and traditions as we could. He was adamant that if we ate kielbasa, it had to come from a specific small Polish butcher in Chicago. We didn’t have any money growing up but he always spent extra to have that shipped in all the way to California.
One of the foods I ate often was sauerkraut. I never minded it. It was always delicious with grainy mustard alongside whatever meat and potatoes my Dad made. But it wasn’t until last year that I discovered what sauerkraut is SUPPOSED to taste like and let me tell you – it’ll make a believer out of any cabbage hater. I will never eat store bought sauerkraut again.
Did you know it’s supposed to be crunchy?!!
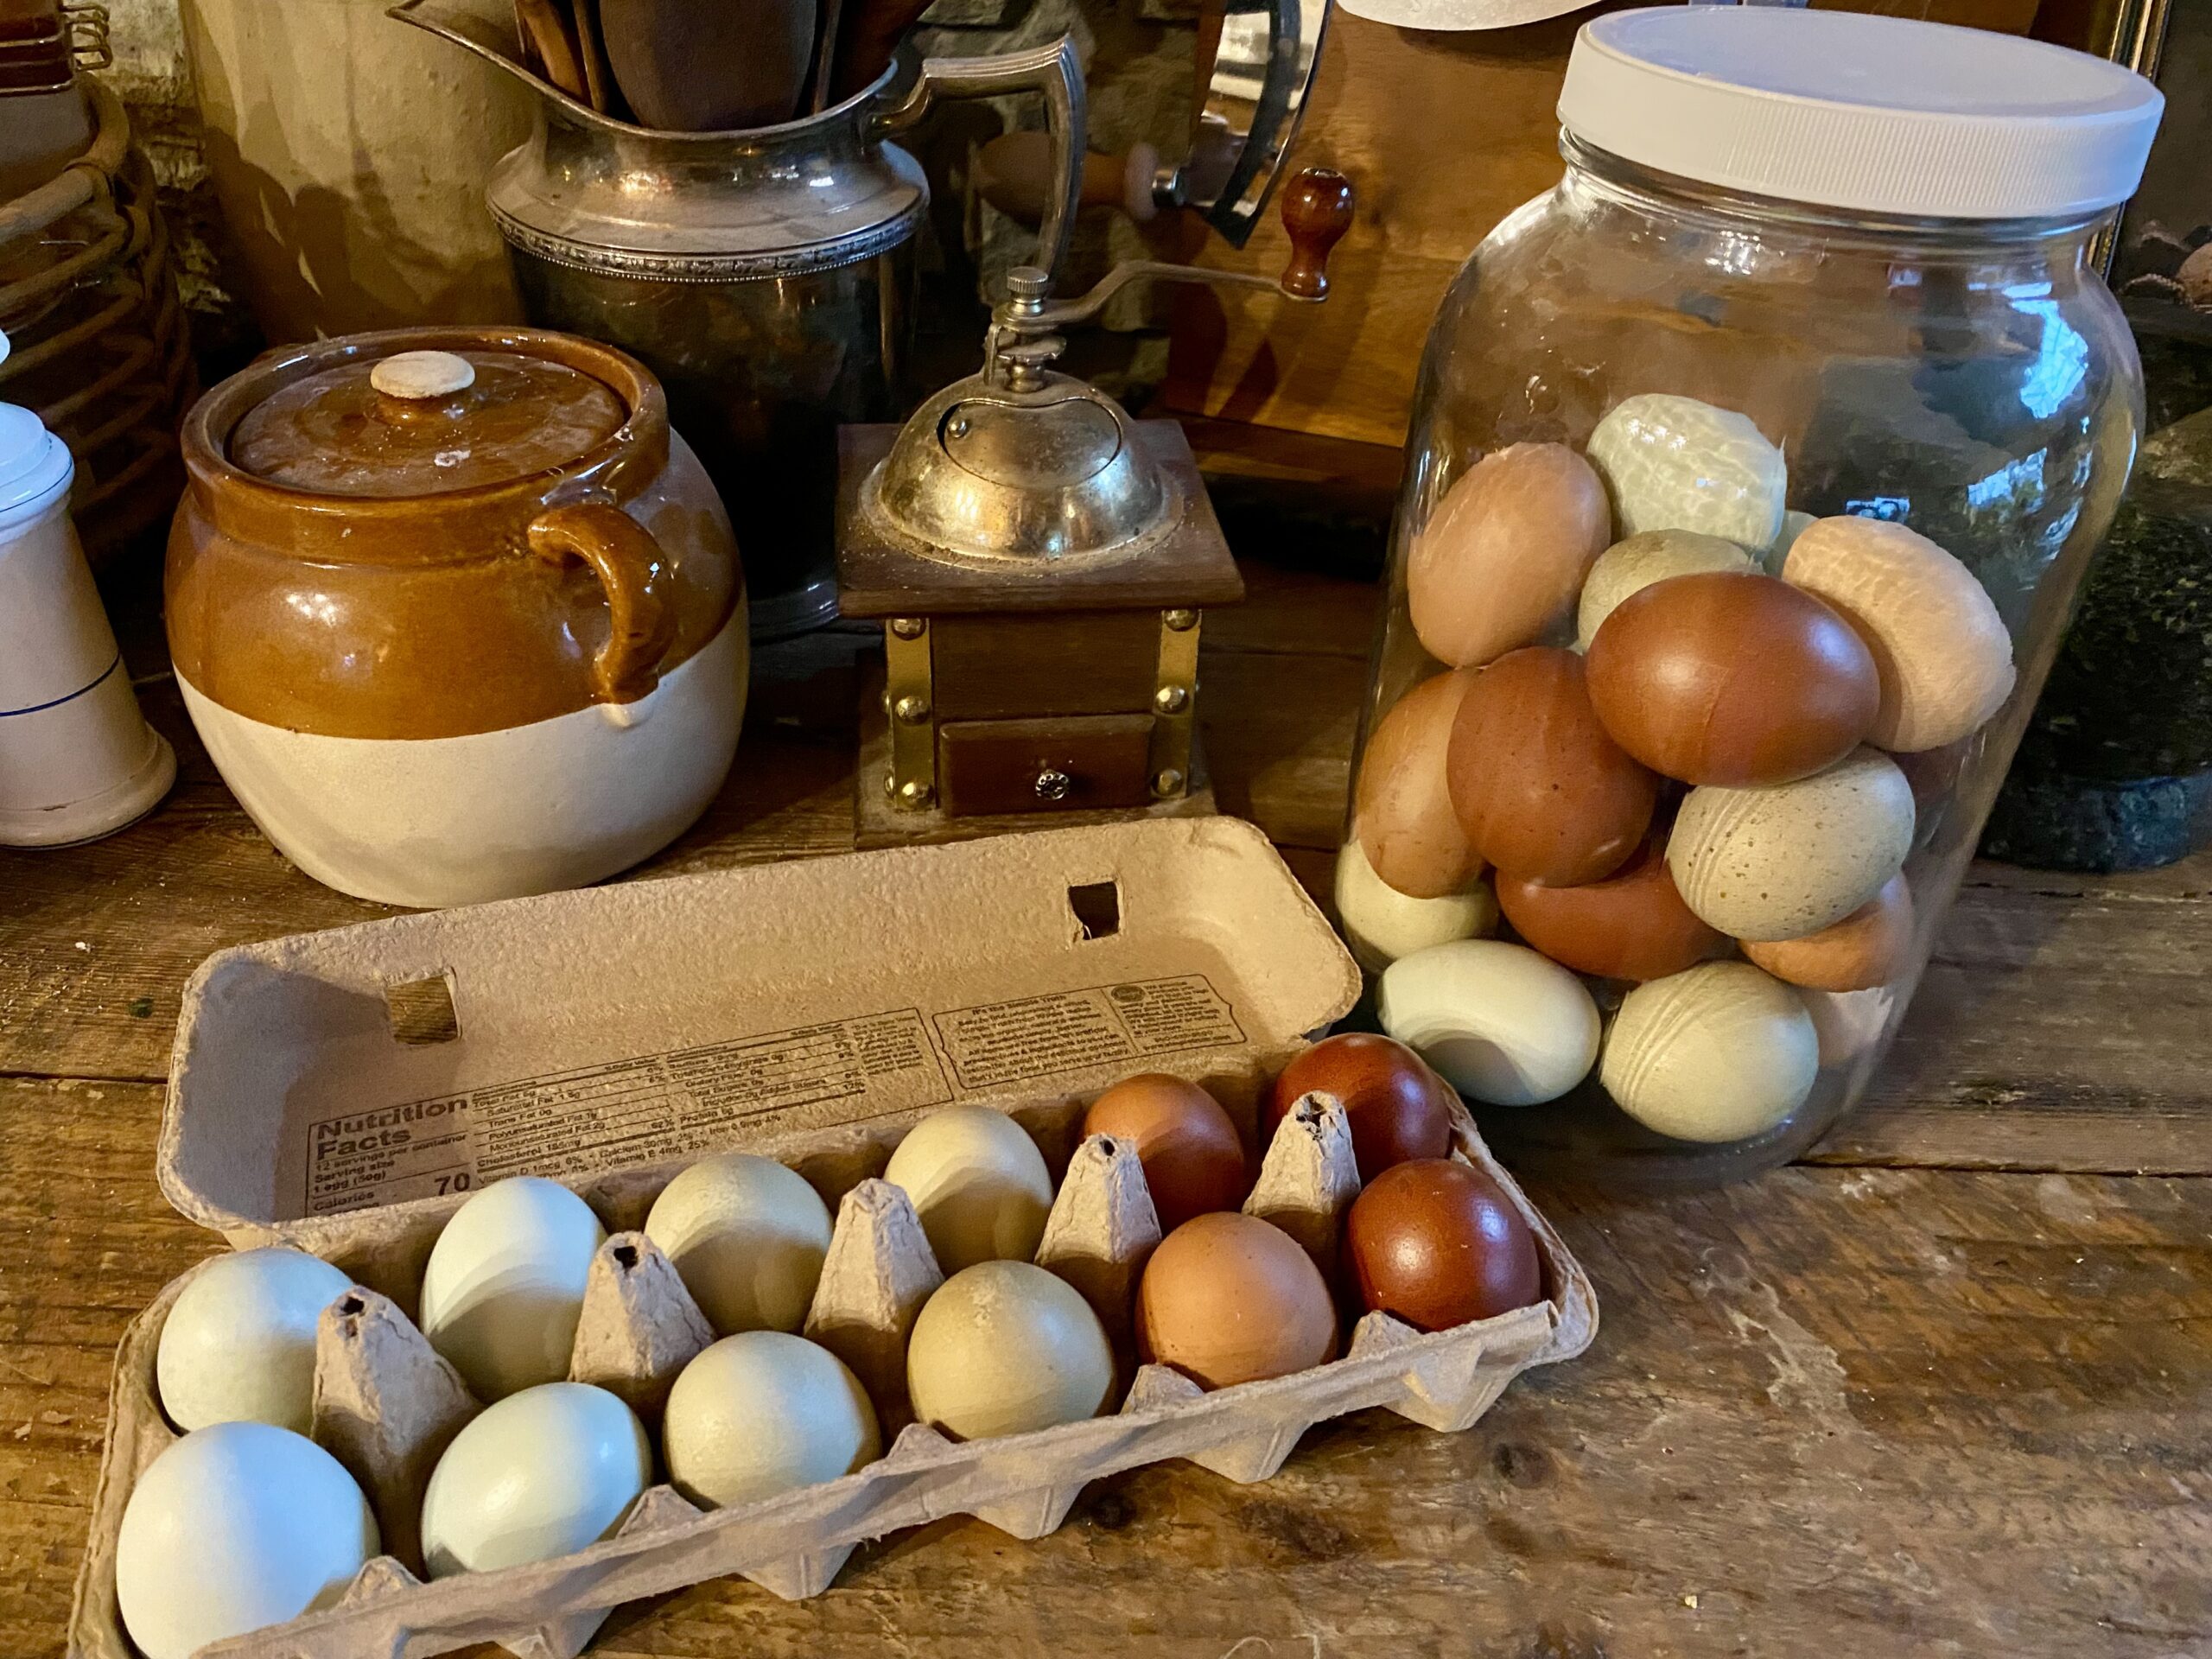
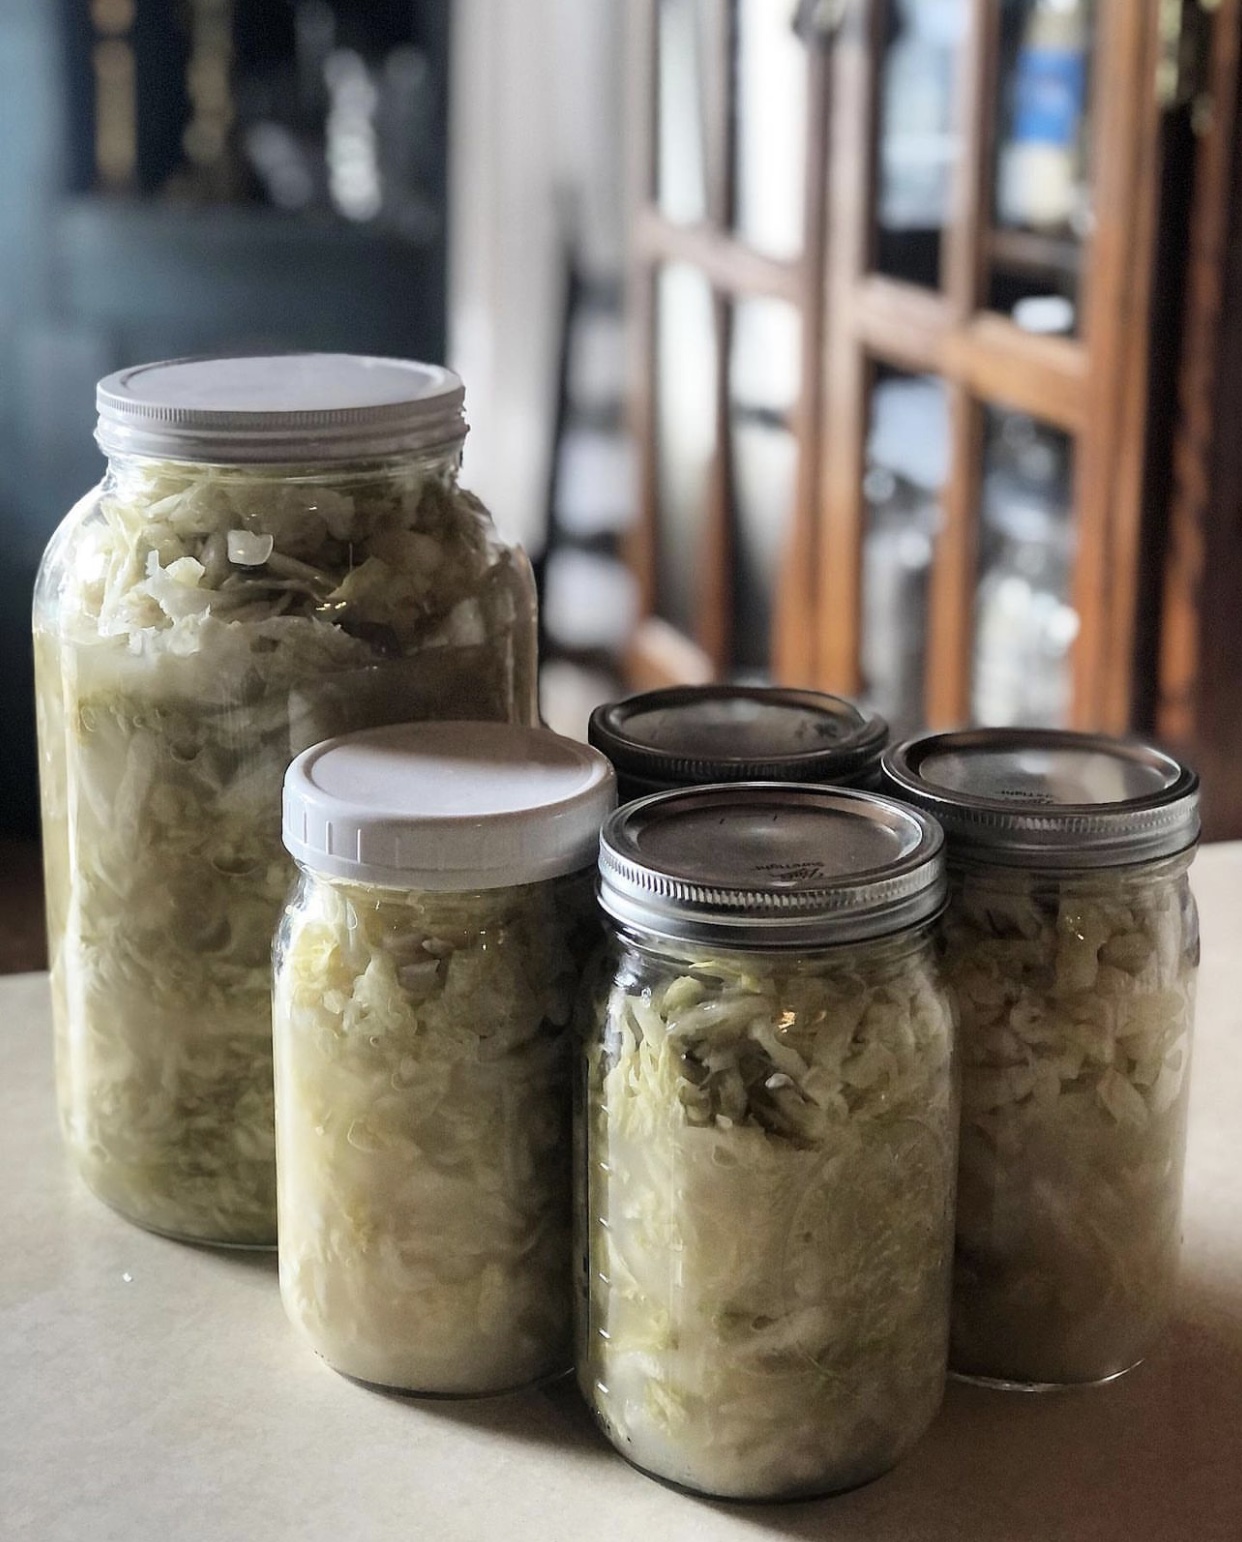
I had never before tasted that salty, sour, delicious crunch! I am obsessed and now have no less than four gallons of kraut fermenting at any given time. My favorite breakfast I can eat everyday is a good toasted artisan sourdough slice with grass fed butter and a pinch of sea salt, two sunny side up farm fresh eggs from our coop, and sauerkraut.
Making it is so easy. It takes ten minutes. All you need is a jar, a weight, a head of cabbage (organic if possible because conventional cabbage is treated with chemicals that would prevent fermentation), some good salt, anything to pound the leaves, and filtered water. I use a five gallon crock but most recently switched to one gallon glass jars so I can keep a closer eye on them and use them in smaller batches.
Directions
Wash your cabbage and strip away the outer leaves but don’t discard, you’ll need these for later. Cut up the cabbage head into thin slices and remove the white core. In layers in whatever jar you prefer place cabbage leaves, a hefty pinch of salt, and pound out the leaves with a pestle or other tool. Repeat. I maybe did this four or five times for a one gallon jar.
You’d be surprised how much you can fit in a jar when you smash it down. Once the jar is full place the large outer leaves over the cabbage slices to create a barrier to the air, place a weight on it, and cover with filtered water. The water cannot be tap because the chlorine will kill the beneficial bacteria needed for fermentation.
Once all leaves are submerged cover and let sit for 2 weeks up to three months. How long you allow it to sit and ferment depends on how sour you like your cabbage. I prefer mine sit on the longer side. Remember to burp your lid every few days to let off the gases. Do a taste test to decide if it’s ready, just reach underneath the cabbage leaf and weight to taste a slice and when it’s done place in the fridge. Enjoy for many, many months.
This is a health superfood! It is so good for you and I’m telling you the crunch will have you addicted to this and never eating any other type of kraut ever again!
Happy fermenting!
Lauren