I wanted to share my go-to recipe I make each week for family and friends with you.
This information is for an active sourdough starter, one you either started yourself or were gifted. If you are looking to start a new sourdough culture, or to re-hydrate one, you will need further instructions not provided in the context here.
If you are a visual learner, I have saved a video of each step provided here under the ‘Sourdough’ highlights tab on our Instagram @browningshomestead.
Tools Needed For Bread Baking

- Wooden Sourdough Spatula (Elongated and narrow, best for fitting into jars)
- Round Rattan Banneton Baskets
- Round Banneton Basket Covers
- Dough Scraper
- Tea Towels
- Mason jars
- Digital kitchen scale
- Bread Scoring Lame (Razor blade)
- Parchment Paper
- Dutch Oven
Ingredients Required
- Unbleached (organic if possible) All Purpose Flour for feeding your starter
- Unbleached (organic if possible) Bread Flour
- Himalayan Sea Salt
- Organic, Extra Virgin Olive Oil
- Filtered Water
References and Resources
- Azure standard (online bulk purchase of organic unbleached bread flour)
- Alexandra Cooks (best online sourdough reference and pizza dough recipe)
- Emilie Raffa’s book “Artisan Sourdough Made Simple” (where this recipe was adapted from)
Helpful Tips
- Hand wash wooden utensils only, and do not allow them to soak in water.
- Do not wash your banneton baskets.
- You must have a digital kitchen scale. Do NOT attempt to make sourdough bread with measurements by the cup, your recipe will not turn out as intended.
- Wax paper is NOT the same as Parchment paper (I learned this the hard way).
- King Arthur is my preferred flour of choice.
- Keep your starter in the fridge and feed every 5 days (do not go longer than this.)
- If you do go longer than five days in between feedings (I have forgotten plenty of times) place starter on the counter and feed 2 to 3 times before using in a recipe.
- If you choose to keep your starter on the counter you will need to feed it every 24 hours.
- I feed my starter weekly with unbleached all purpose flour, but when I am actually making a bread recipe I use unbleached bread flour to bake with.
- Always add your filtered water first and stir to combine, add flour last.
- Only use an active sourdough starter for baking any recipes.
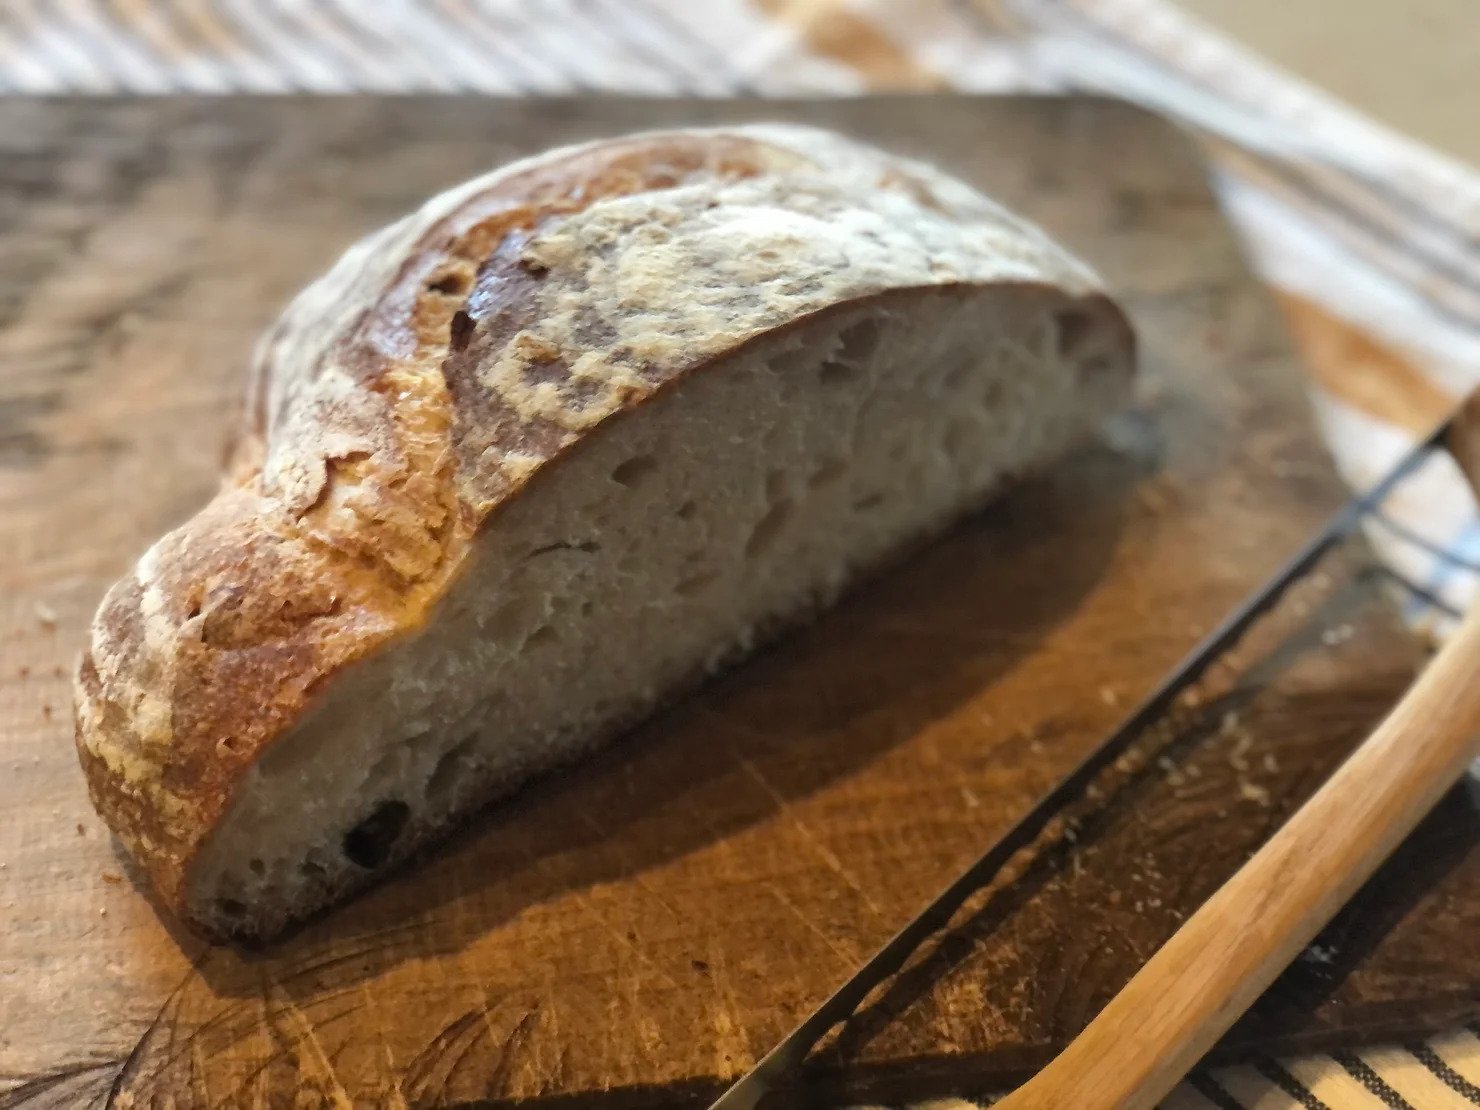
My go-to recipe I make each week is a high hydration sourdough which is what I am sharing with you. It is by far the best bread recipe I have ever come across/created. A crunchy crust, a light and airy center with lots of large, open holes. It is perfect. I do recommend you begin with a traditional sourdough when starting out. It took me many months of trial and error, so be kind to yourself and give yourself grace because you will need a lot of practice. You will experiment with a variety of flours or varying measurements of these flours, different methods of hydration, your preferred baking times, and your recipe will eventually become your own. Sourdough is not something you can simply ‘make’ because you have the recipe. It is a living culture and ever changing and is dependent on the temperature and season, so make time for slow cooking and I promise you won’t be disappointed.
I prefer to feed my starter in the mornings. It takes roughly 24-36 hours to make this bread, if not longer, so learning timing and planning is a big hurdle when it comes to sourdough bread making.
Recipe Ingredients (for one bread loaf)
- 50g active (fed) starter
- 375g warm, or room temperature filtered water
- 10g extra virgin olive oil
- 10g sea salt
- 500g unbleached bread flour
Instructions
Step 1: Begin by feeding 50g of starter first thing in the morning. I measure out 50g on my kitchen scale into a fresh mason jar, add 50g filtered water and stir until combined, and then add 50g unbleached all purpose flour. I use a wooden sourdough spatula for this step. I learned through my journey that keeping equal parts of each ingredient simplifies things so always remember no matter how much starter you are feeding (I usually make five loaves of bread at a time so I feed 150g of starter) to keep the starter, water, and flour in equal parts. Cover with a damp tea towel and let rest on the counter until the starter has doubled in size and has visible bubbles. This process takes between 8-12 hours and will change with the temperature of the seasons. After this time your starter will be ready for any sourdough recipes you want to make.
Step 2: In the evening, begin your recipe by mixing the starter and water together. Add the olive oil and mix to incorporate. Add the salt and mix. Finally add the bread flour and mix together. I tend to use a fork to do my dough mixing, you can also use a bakers whisk. I do not use a bread mixer or kitchen aid mixer for any part of this recipe. The less kneading the better. You want to form a rough dough. Cover with a damp tea towel for one hour. After the dough has rested for one hour, return and use the pull and push method – pull the dough up from the bottom and stretch it, and fold or push it into the top center while rotating the bowl clockwise. Do this about 8 times or two full rotations with the dough to form a nice ball.
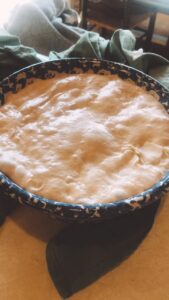
Step 3: Cover the bowl with a damp tea towel and let it rise overnight at room temperature. You will know when the dough is ready when it has doubled its size and has big bubbles on the surface, and jiggles if you shake the bowl.
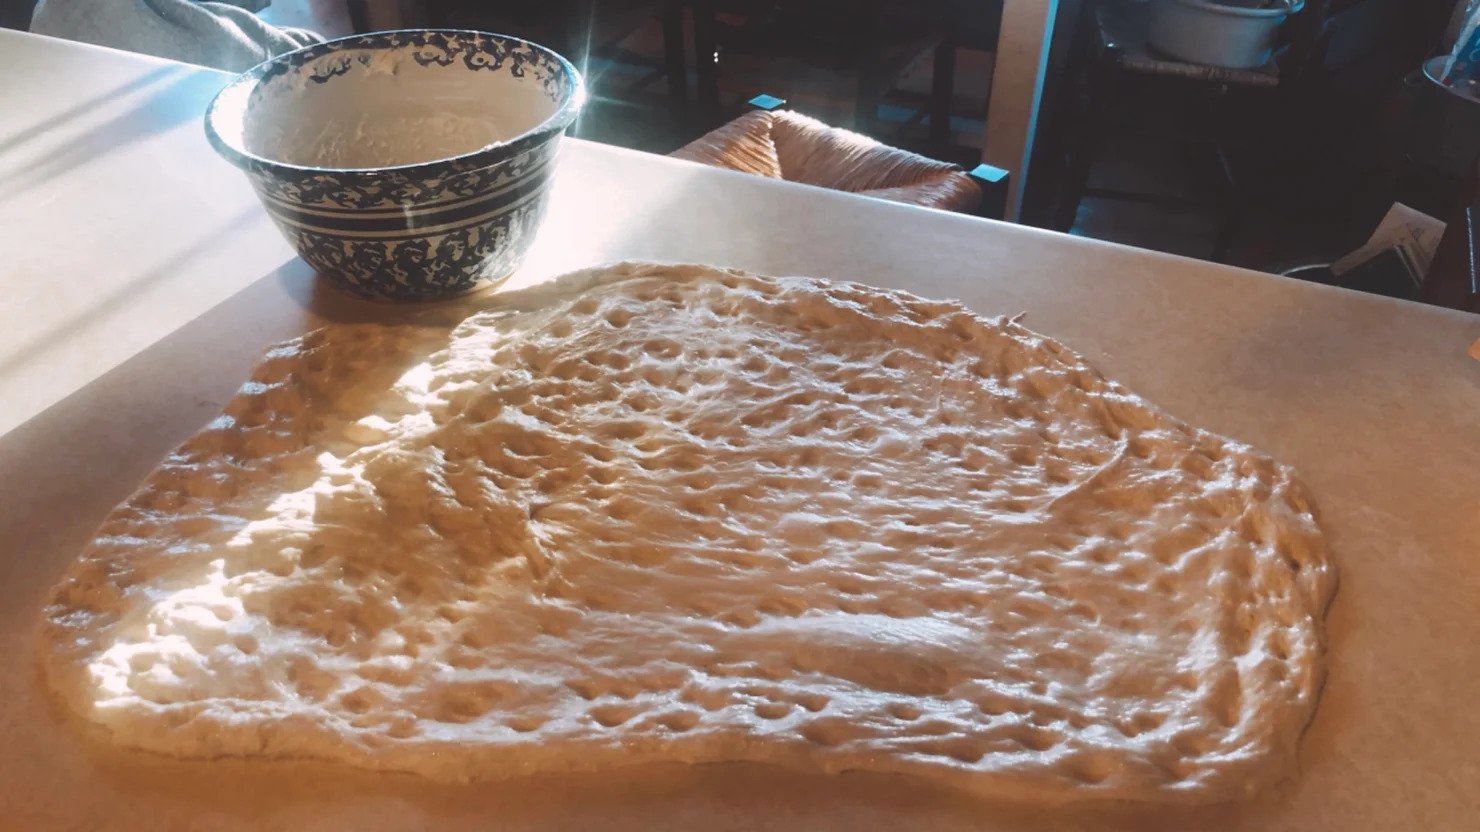
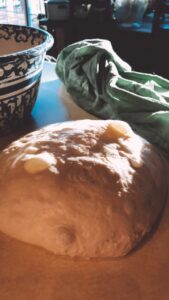
Step 4: In the morning, coax the dough onto the countertop (you may have to flour the surface). Gently take the dough and flap it outward to stretch it without tearing so that it becomes as large as possible without being too thin in the center. After stretching it, repeatedly get your hands wet to dimple the surface all over. Fold the dough up by placing the bottom to the center, top to the center, and each side to the center. Flip over so the seams are on the bottom and the smooth surface is now on top and use a cupping/scooping motion to tighten the sourdough underneath itself. Allow it to rest for 10 minutes. After 10 minutes, flip over so the smooth side is down, use the same stretch and fold method as earlier – take a side from under the dough and stretch it skyward and place on top of the center as you gently rotate the dough clockwise, being careful not to tear the dough. Do this two full times around. Flip the dough so the smooth side is facing up again and cup the dough and gently pull it towards you in a circular motion to tighten the shape. Place in a floured banneton basket with the smooth side facing down.
Step 5: Cover the banneton basket with the cloth it comes with or with a damp tea towel and place in the refrigerator for a minimum of 1 hour, or up to 8 hours. If you do not have a banneton basket, a large kitchen bowl works just fine and a dinner plate makes a great lid. (In the winter, to save space in the fridge, I place my dough outside on the porch in the cold winter’s air.)
Step 6: Preheat the oven to 500 degrees Fahrenheit. (I typically allow my dough to sit overnight in the fridge, so step 6 for me is the first thing I do the next morning.) Place parchment paper over the dough and flip over the banneton basket to release. Use a razor blade or a knife to score the dough (or create a beautiful design here) to allow steam to be released. Place parchment paper and dough in your dutch oven. Cover with the lid and place in the oven, and immediately reduce the heat to 450 degrees F. Bake for 20 – 20 – 10. 20 minutes with the lid on, 20 minutes with the lid off, and 10 minutes directly on the rack.
Step 7: Allow the bread to cool on a wire rack for ONE hour before slicing. I know this is the hardest part, but that bread is full of steam that is not ready to be released yet! Trust me when I say the bread will still be warm when you cut it in an hour and your loaf will be better for it.

Bon Appetit!
My absolute favorite way to enjoy this delicious homemade bread is to toast it in a cast iron skillet with grass fed butter, and add a pinch of sea salt to your slice. It is divine.
2 Responses
Good morning, I’m looking for a sour dough starter recipe. I have tried a couple i have found on Pinterest, but no luck. Do you have a starter recipe that you can share?
Thank you and love your posts.
Andrea Terry
Hi Andrea. I am glad you asked because I have been working on this. I have found that I much prefer to get a dehydrated starter and then revive it rather than starting with a brand new starter. But even then I have tried several recipes for rehydrating and I haven’t yet been happy with the results. We dehydrate and sell our sourdough starter but I want to give the perfect directions for rehydrating and I still have some tests to do in my kitchen.