This post is not about how you choose the goat that will serve your family for years on the homestead, or about breeding; but rather, what to do when the kid finally comes, and you can begin goat milking.
What supplies will you need? What routine will you have? How simple can it be? We don’t like to over-complicate things on our homestead. Complicated usually means expensive. You don’t have to invest in a goat milking machine that costs thousands of dollars to make this lifestyle doable. All you need is a stainless-steel pale, glass jars, and a cheesecloth.
When we first began milking Frida, our Alpine doe, we didn’t even have a stanchion. She arrived with a collar around her neck made of baling twine. It’s a byproduct of what you are already using and its free. It works really well honestly. I would use a lead rope meant for horses and tie her to stand in her stall while I began milking.
This is where buying an experienced doe comes in, when I first started milking I was so slow. Painfully slow as I learned how to maneuver my fingers best for that beautiful milk to hit the pail. Eventually I found my rhythm, but she was so patient with me while I practiced. We weren’t even giving her grain during milking at that time. I promise providing your family with fresh raw milk is easier than you think.
The supplies I used:
- Plastic 4 cup measuring container with a handle, simply because it was easy to carry to the barn. Fill it full of warm, soapy water and a washcloth
- A teat dip cup filled with iodine
- A stainless-steel milking pail with a lid (make sure you get one with a lid)
- Stainless-steel funnel with a stainless-steel screen for the bottom
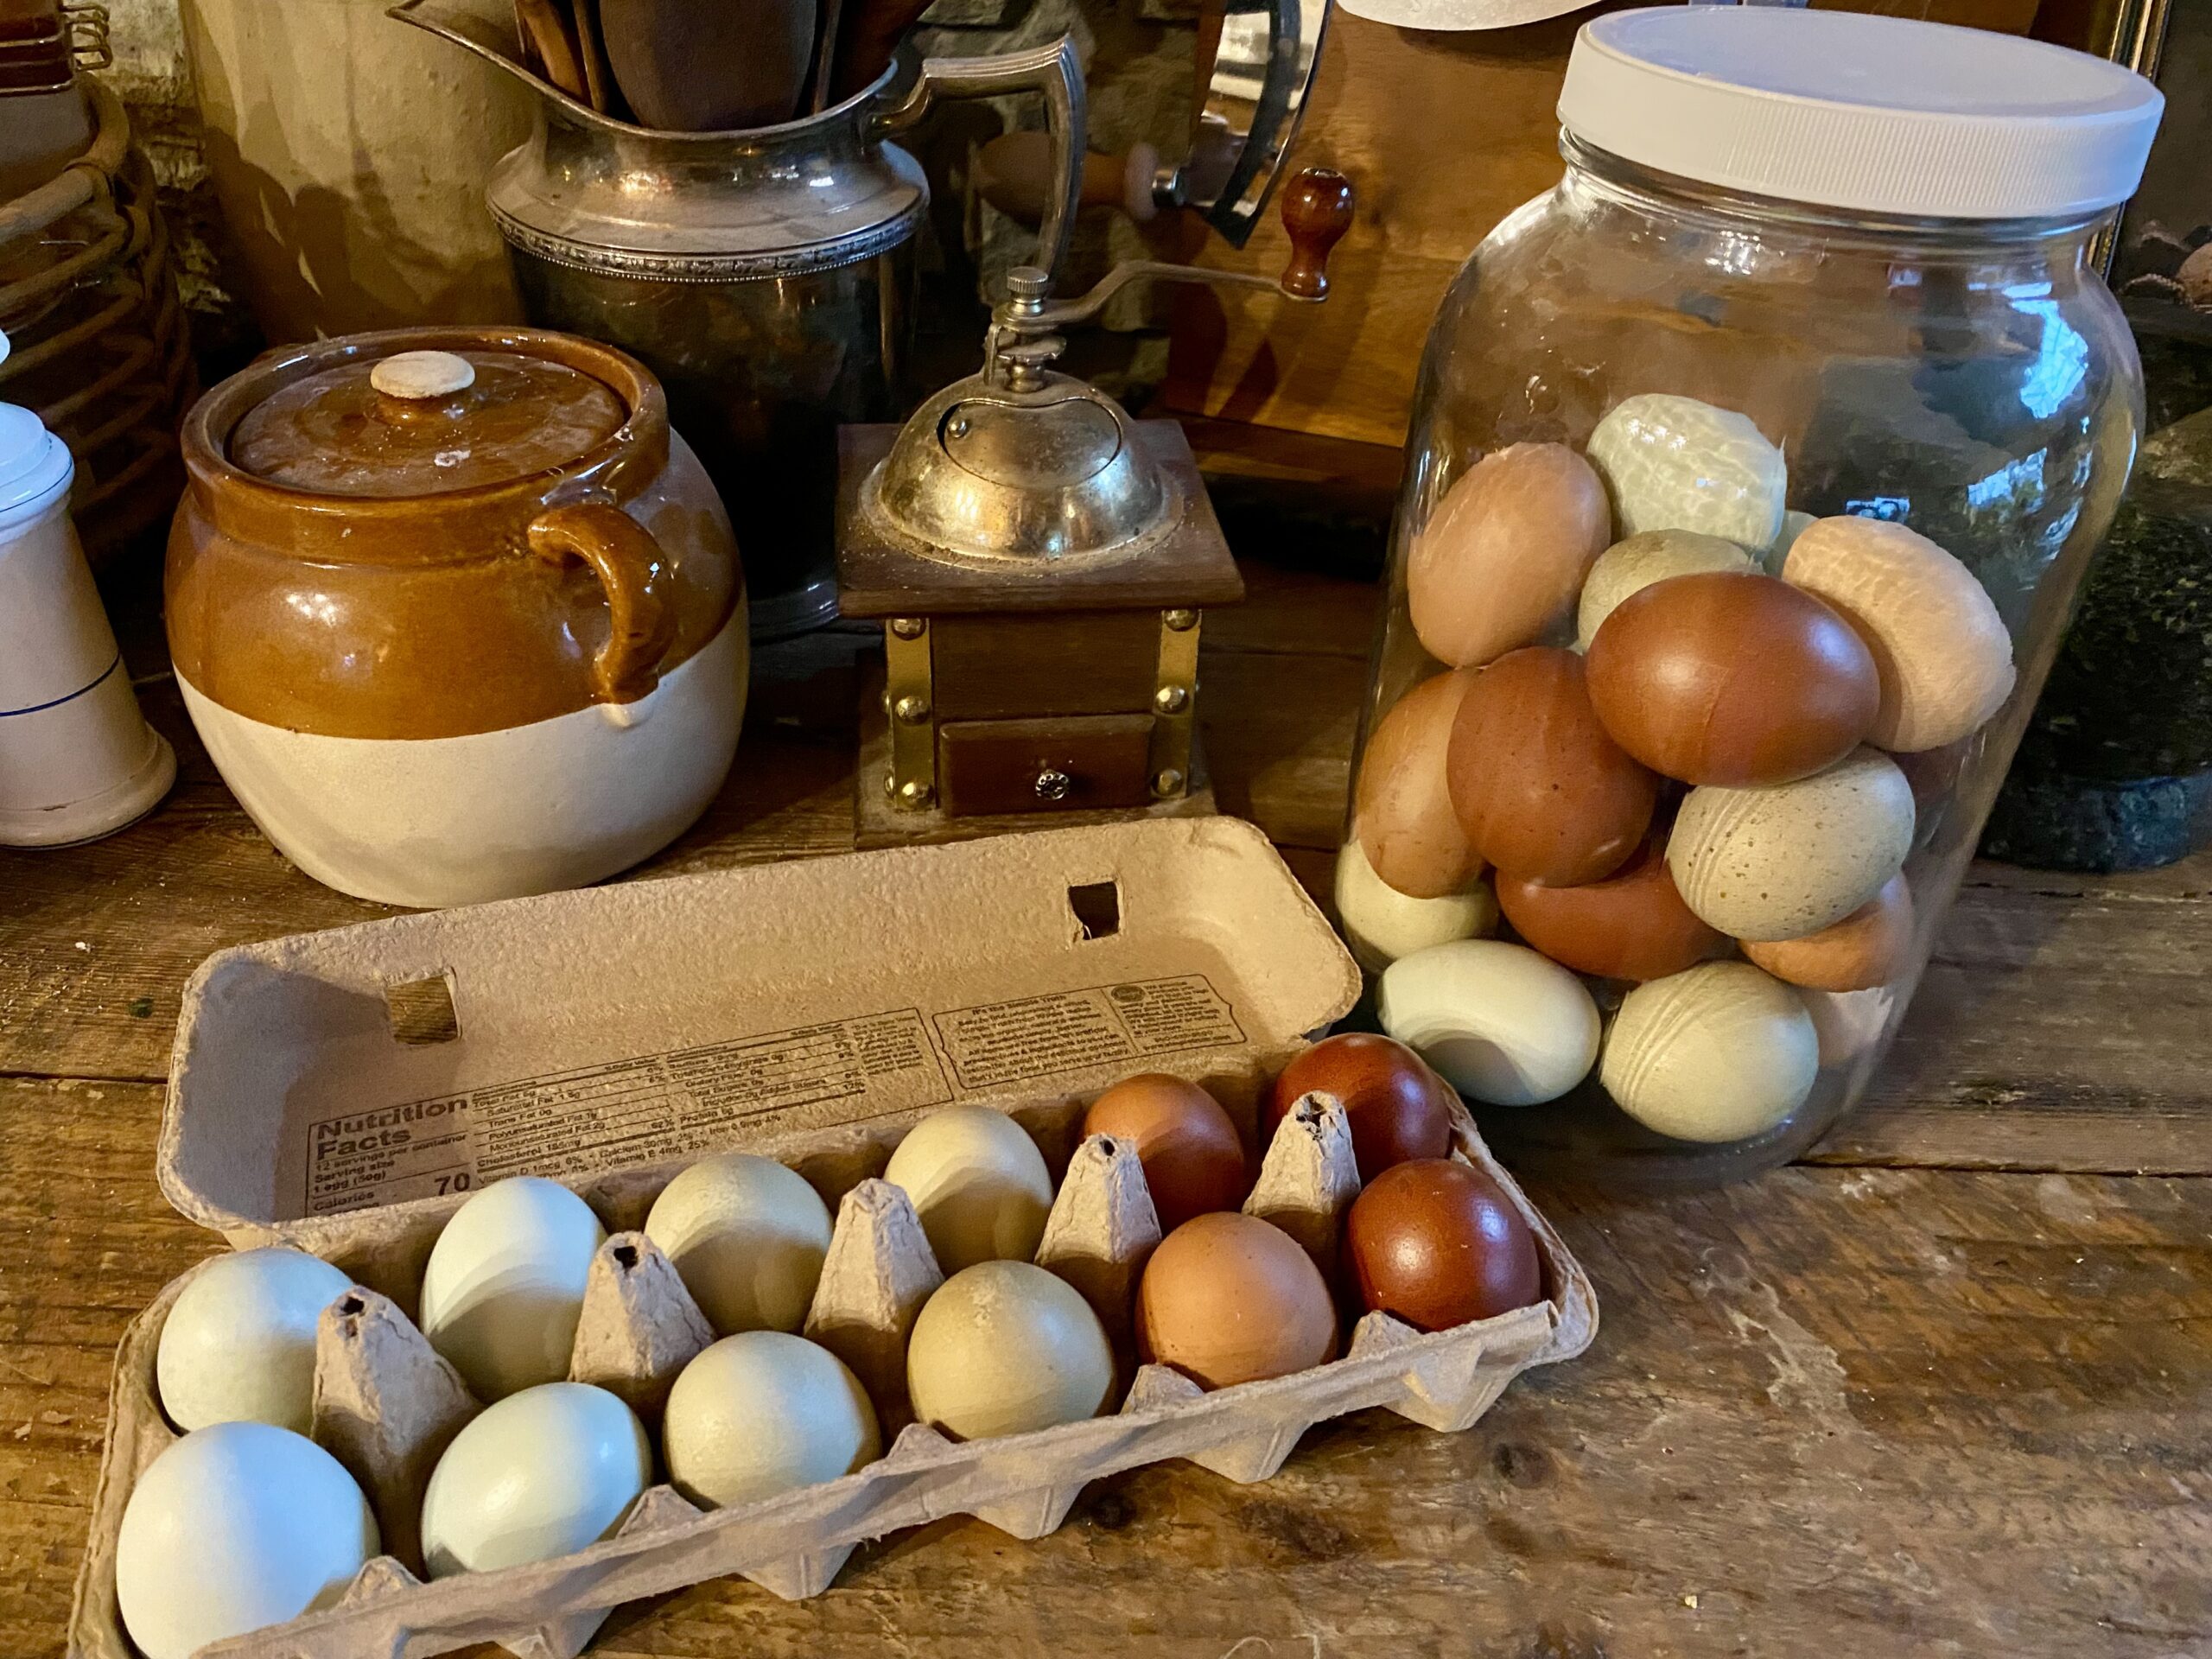
- Glass mason jars
- Cheesecloth
Steps for goat milking:
- Again, I just walked into her stall and clipped her up. Not complicated at all. I would start by washing off her udder really well with both sides of a warm soapy cloth.
- Strip her teats, which just simply means pull a few squirts from each of her two teats before milking to essentially flush out any bacteria that might be there from where she was laying down etc.
- Milk her out completely. When she starts getting low on milk make sure you bump her so she can let more milk down. Bumping does not hurt them, it’s something a calf or kid normally does and I promise they are much rougher than you will ever be. It’s important to milk her out completely.
- Dip her teats with iodine. For the first few minutes after milking her teats are open, which mean if she goes and lays in soiled hay that bacteria has a chance to enter her udder so iodine is important to prevent this.
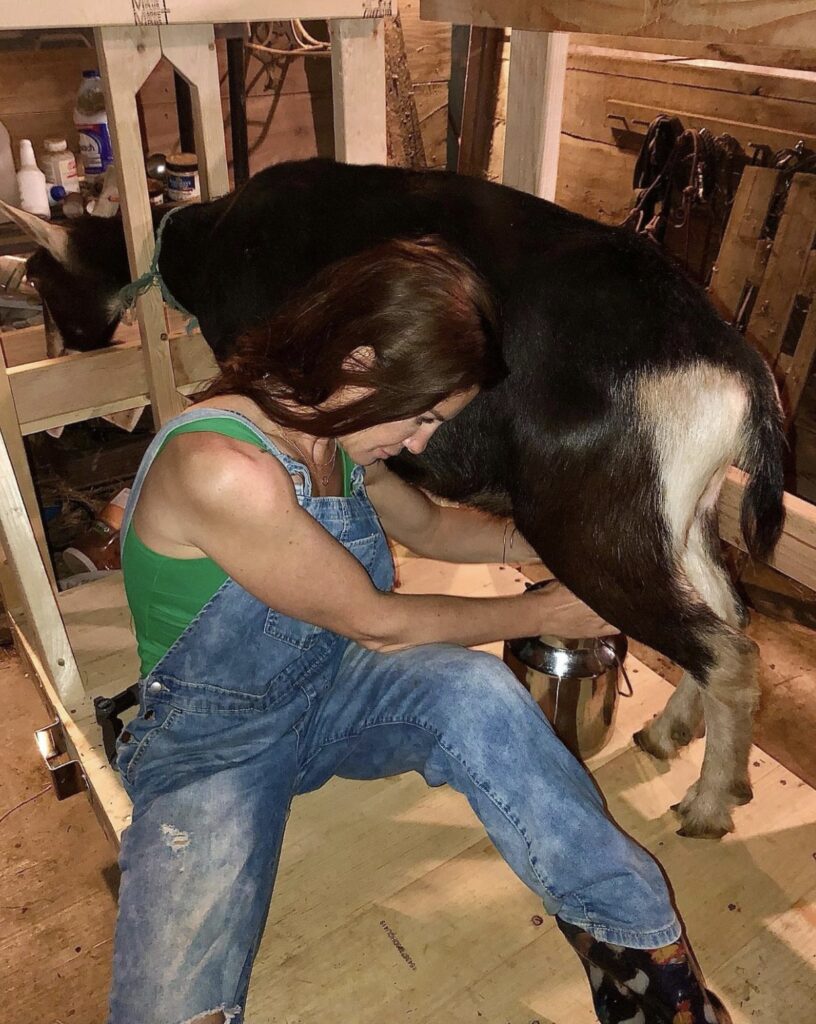
We did eventually find someone on Facebook marketplace who built us a custom goat milking stanchion to fit our large Alpine breed and accommodate for our even larger males with intact horns for hoof trimmings, medical care etc. This cost us around $300 and when you are ready, I believe it’s a worthy investment.
Our routine only slightly changed with the milking stanchion, in that now I let Frida out of the stall, and she immediately runs over and hops up to be milked because she knows that is where her grain is. Animals love routine. She did not arrive on our farm with a kid (baby), so I milked every morning and every evening. It only took about ten minutes and yielded 3/4 to 1 quart.
Once you milk you want to immediately get the milk in the house because it needs to be cooled as fast as possible. In the winter this doesn’t matter as much, you could simply stick your pail in the snow while you finish your chores.
How To Process The Goat Milk
To process the milk, I simply placed a funnel with the filter screen in the top of a wide mouth mason jar, folded a cheesecloth over the top for a double filtration method, poured the fresh milk into the jar, labeled with painters’ tape and a sharpie the date and time of milking, and placed in the fridge. Very little cost involved to enjoy fresh, raw milk.
By the time I got into a routine and was faster at milking, the entire process from grabbing the supplies, heading down to the barn, milking, straining the milk, and cleaning up, took all of fifteen minutes. It’s not complicated and that’s what I love about it.
And please don’t be intimidated about this idea of goat milking twice a day. As I mentioned it takes very little time, and I will tell you it was everything I needed without knowing it. It provided structure to my day. It was how I started each morning and ended each evening.
I would rest my head on her, nuzzle up to her fur, enjoy the sounds and smells of the barn, listen to that rhythmic sound of the milk hitting the pail, and I would pray. I would pray over my milk. I wanted it to bless my family and anyone who drank it. I prayed over the health of my animals that provide such nourishment for our bodies and for the farm. It is a truly special time in the ‘milk parlor’ and was something I never realized I needed and was truly missing.